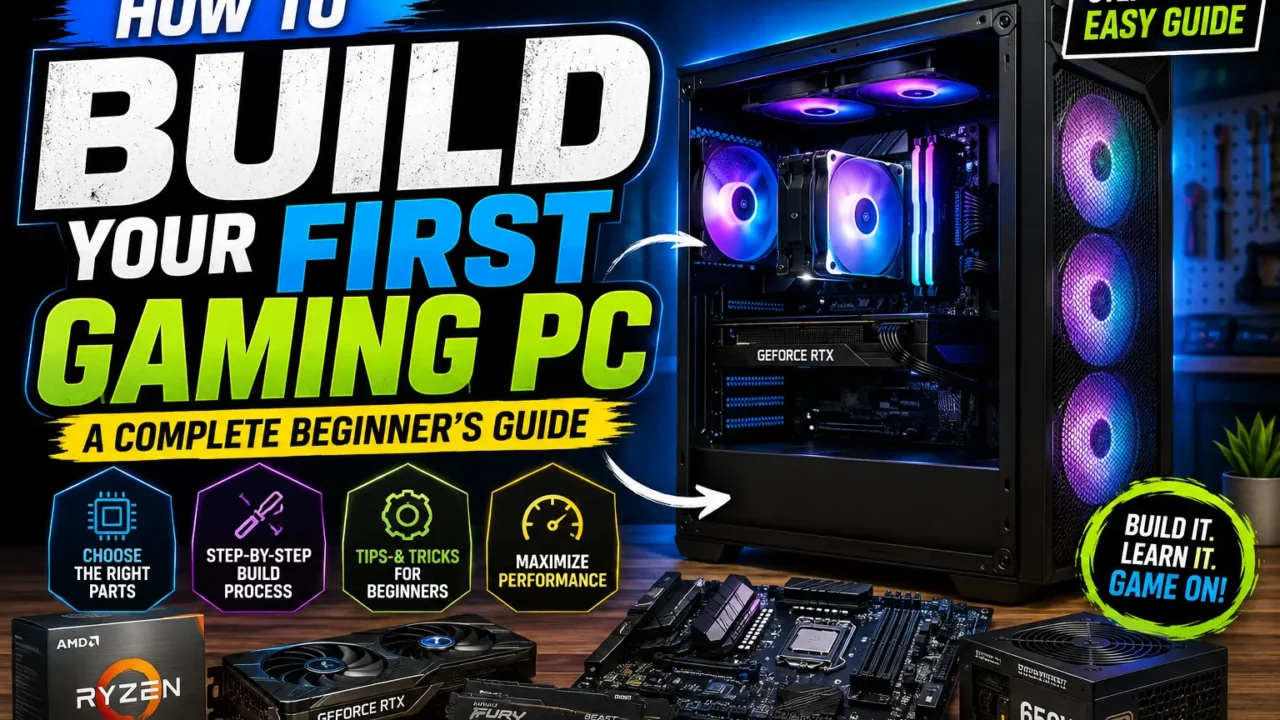
How to Build Your First Gaming PC: A Complete Beginner’s Guide
Building your own gaming PC sounds intimidating the first time you consider it — a pile of expensive components, dozens of cables, and the very real fear of frying something the moment you plug it in. The good news: modern PC parts are more foolproof than ever. Connectors are keyed so they only fit one way, components are standardized across brands, and the actual assembly process takes most first-timers only a few hours. This guide walks through everything you need to know, from understanding what each part does to powering on your finished build for the first time.
Why Build Instead of Buy?
Pre-built gaming PCs are convenient, but building your own comes with real advantages:
- Better value. You typically get more performance per dollar, since pre-built retailers charge a premium for assembly and often cut corners on power supplies or cooling to hit a price point.
- Full control. You choose every component, so your PC matches exactly what you want to do with it — competitive gaming, streaming, creative work, or a mix.
- Easier upgrades later. When you understand how your PC goes together, swapping a GPU or adding storage down the line is far less intimidating.
- You’ll actually understand your PC. Troubleshooting is much easier when you know what’s inside your machine and how it connects.
What You’ll Need Before You Start
You don’t need a workshop full of tools. At minimum, gather:
- A Phillips-head screwdriver (magnetic tip helps, but isn’t required)
- A clean, flat workspace with good lighting
- Anti-static precautions — touch a grounded metal object before handling components, or use an anti-static wrist strap if you have one
- All your components, unboxed and within reach
- Roughly 2–4 hours, especially for your first build — there’s no need to rush
Understanding the Core Components
Before assembly, it helps to know what you’re actually installing and why it matters.
CPU (Processor) The “brain” of your PC, handling general computation and game logic. Your CPU choice determines your motherboard socket type (Intel and AMD use different sockets), so this is typically the first decision you make.
Motherboard The board everything else plugs into. It must match your CPU’s socket, support your chosen RAM type (DDR5 is now standard on current-generation boards), and have enough expansion slots for your GPU and storage.
RAM (Memory) Handles short-term data your system needs quick access to while running. 16GB is a reasonable minimum for gaming in 2026; 32GB is a safer choice if you plan to stream, multitask heavily, or future-proof your build.
GPU (Graphics Card) Renders the images you see on screen and is usually the single most important component for gaming performance. It’s often the most expensive part of a gaming build and the component most worth prioritizing in your budget.
Storage Modern builds almost universally use NVMe M.2 SSDs for their operating system and frequently played games, thanks to dramatically faster load times than traditional hard drives. Many builders pair a fast, smaller M.2 drive with a larger, cheaper SSD or HDD for additional storage.
Power Supply (PSU) Converts wall power into usable power for your components. Don’t underspend here — a poor-quality PSU can damage other components or cause instability. Choose a reputable brand with sufficient wattage headroom for your GPU and future upgrades.
Case Houses everything and affects airflow, noise, and how easy the build process is. Make sure it supports your motherboard size (ATX, Micro-ATX, or Mini-ITX) and has room for your GPU’s length.
CPU Cooler Many CPUs include a stock cooler sufficient for standard use, but a dedicated air or liquid cooler helps with sustained performance and noise levels, especially for higher-end chips.
Step-by-Step Assembly
1. Prep your workspace and case Unbox your case and remove any protective plastic. Lay the case on its side with the side panel removed for easy access.
2. Install the CPU onto the motherboard (before mounting it in the case) Lift the socket lever, align the CPU using the small triangle or notch markers, and gently lower it into place. Never force it — it should drop in with no pressure. Lower the retention arm to lock it in.
3. Install RAM Locate the RAM slots, open the clips, align the notch on the stick with the slot, and press down firmly until the clips snap into place. Check your motherboard manual for which slots to use first if you’re not filling all of them.
4. Install M.2 storage Locate the M.2 slot (usually near the CPU socket), remove the small mounting screw, insert the drive at an angle, then press it flat and secure it with the screw.
5. Mount the motherboard in the case Install the I/O shield (if not pre-attached), align the motherboard’s mounting holes with the case standoffs, and secure it with the provided screws.
6. Install the power supply Mount the PSU in its designated bay, usually at the bottom or top rear of the case, and secure it with screws. Don’t connect cables yet if you’re doing cable management as you go — many builders route main cables before installing other components.
7. Install the GPU Remove the appropriate expansion slot covers on the case, align the GPU with the PCIe slot, press down firmly until it clicks in, and secure it to the case with screws.
8. Connect power and data cables Connect the 24-pin motherboard power cable, CPU power cable (usually 4/8-pin near the CPU), GPU power cables, and SATA/data cables for any additional storage.
9. Connect front panel connectors Small pins for the power button, reset button, and LED indicators connect to a labeled header on the motherboard — check your manual for the exact pinout, as this is the fiddliest part for most beginners.
10. Cable management Route cables behind the motherboard tray where possible. This isn’t just cosmetic — it improves airflow and makes future upgrades easier.
11. First boot Connect a monitor, keyboard, and mouse, then power on. You should see your motherboard’s splash screen or BIOS. If nothing displays, don’t panic — double-check power connections and RAM seating before assuming a component failure.
12. Install your operating system and drivers Boot from a USB installer for Windows (or your OS of choice), then install the latest GPU and motherboard chipset drivers once you’re up and running.
Common Beginner Mistakes to Avoid
- Forcing components. If something doesn’t fit easily, stop and check alignment — nothing in a modern build should require significant force.
- Skipping the manual. Every motherboard has slightly different header layouts and slot priorities. Five minutes with the manual saves a lot of frustration.
- Not seating RAM/GPU fully. A card or stick that “looks” installed but isn’t fully clicked in is one of the most common causes of a no-boot situation.
- Ignoring cable management until the end. It’s much harder to route cables cleanly after every component is already installed.
- Underspending on the PSU. This is not the place to cut corners — a cheap, low-quality unit puts your entire build at risk.
What Budget Should You Expect?
Gaming PC builds generally fall into a few tiers:
- Budget (~$700–$900): Solid 1080p gaming at high settings
- Mid-range (~$1,200–$1,500): Strong 1440p performance with room for ray tracing
- High-end (~$2,000+): 4K gaming and maximum settings across current titles
We’ll cover exact parts lists for each tier in dedicated build guides — this article focuses on the process itself, which stays largely the same no matter your budget.
Final Thoughts
Your first build will likely take longer than an experienced builder’s, and that’s completely normal — take your time, double-check each connection, and don’t be afraid to consult your component manuals along the way. Once it’s together and you see that first BIOS screen, you’ll understand why so many gamers prefer building over buying: there’s real satisfaction in knowing exactly what’s inside your PC, because you put it there yourself.
Ready to pick your parts? Check out our budget-specific build guides for exact component recommendations at every price point.